
Introduction: The Foundation of Flavor A pie or tart is often judged before the first bite, and its crust plays the starring role in that initial assessment. More than just a container for fillings, a well-executed crust provides a delightful textural contrast, a subtle richness, and a visual appeal that elevates the entire dess…
Introduction: The Foundation of Flavor
A pie or tart is often judged before the first bite, and its crust plays the starring role in that initial assessment. More than just a container for fillings, a well-executed crust provides a delightful textural contrast, a subtle richness, and a visual appeal that elevates the entire dessert. Achieving that coveted golden-brown hue, coupled with a flaky, tender crumb, is a skill that transforms a good pie into a truly memorable one. This guide will explore the fundamental principles and practical techniques to master the art of the perfect crust.
The Science of Flakiness: Fats and Their Role
The choice of fat is paramount to the texture of your crust. Fat creates layers within the dough, which, when baked, release steam and separate, resulting in flakiness. The type of fat influences both flavor and texture:
- Butter: Renowned for its rich flavor and golden color, butter is a popular choice. Its lower melting point means it needs to be kept very cold to prevent it from fully incorporating into the flour, which would lead to a tougher crust. The water content in butter also contributes to steam production, aiding flakiness.
- Shortening: A solid fat with a higher melting point than butter, shortening excels at creating extremely flaky and tender crusts. It has no water content, which means less gluten development and a more delicate texture. However, it lacks the flavor complexity of butter.
- Lard: Traditionally used, lard offers exceptional flakiness and tenderness due to its unique crystalline structure and high melting point. Quality lard has a neutral flavor that allows the filling to shine.
- Combinations: Many recipes call for a blend of fats, such as butter and shortening, to leverage the best qualities of each – the flavor of butter and the flakiness of shortening.
Regardless of the fat chosen, keeping it very cold is crucial. Cold fat pieces remain distinct within the dough, creating those desirable pockets of steam during baking.
Mixing Methods: Developing the Right Texture
The way you combine ingredients significantly impacts the crust's final texture. The goal is to minimize gluten development, which can lead to a tough crust.
The Cut-In Method (for flaky crusts)
This is the most common method for pie and tart crusts:
- Combine Dry Ingredients: Whisk flour, salt, and any sugar together.
- Cut in Cold Fat: Add very cold, diced fat to the dry ingredients. Using a pastry blender, two knives, or your fingertips, cut the fat into the flour until it resembles coarse meal with some pea-sized pieces remaining. These larger pieces are key to flakiness.
- Add Ice Water: Gradually add ice-cold water, a tablespoon at a time, mixing gently until the dough just comes together. Avoid overmixing. The dough should be shaggy but hold together when pressed.
- Chill: Form the dough into a disc, wrap it tightly, and refrigerate for at least 30 minutes (or up to 2 days). Chilling allows the gluten to relax and the fat to firm up, making the dough easier to roll.
The Reverse Creaming Method (for tender, cookie-like crusts)
Less common for traditional flaky pie crusts, this method is sometimes used for sweeter, more tender tart crusts (pâte sucrée). It involves coating the flour with fat first, which inhibits gluten development even further.
Rolling and Shaping: A Gentle Touch
Once chilled, roll out your dough on a lightly floured surface. Work quickly to keep the dough cold. Rotate the dough frequently to prevent sticking and ensure an even thickness. Aim for a consistent thickness, typically about 1/8 inch, for even baking. Transfer the rolled dough carefully to your pie plate or tart pan, gently pressing it into the corners without stretching. Stretching can cause the crust to shrink during baking.
Baking Temperatures and Techniques: The Golden Hue
Achieving that beautiful golden-brown color and crisp texture requires careful attention to baking temperature and technique.
Blind Baking (Pre-Baking)
For custard pies, quiches, or tarts with unbaked fillings, blind baking is essential to prevent a soggy bottom. This involves baking the crust partially or fully before adding the filling.
- Chill Again: After fitting the dough into the pan, chill it for at least 15-30 minutes. This helps prevent shrinkage.
- Prick and Line: Prick the bottom of the crust with a fork to allow steam to escape. Line the crust with parchment paper or foil and fill with pie weights, dried beans, or rice.
- Bake: Bake in a hot oven (often 375-400°F / 190-200°C) for 15-20 minutes, or until the edges are set.
- Remove Weights: Remove the weights and parchment/foil. Continue baking for another 10-15 minutes, or until the crust is golden and dry for a fully baked crust.
Full Baking with Filling
For fruit pies or other fillings that bake along with the crust, the initial high temperature helps set the crust quickly and promotes browning. Many recipes start at a higher temperature (e.g., 425°F / 220°C) for the first 15-20 minutes, then reduce it to a moderate temperature (e.g., 375°F / 190°C) for the remainder of the baking time. This allows the crust to brown while the filling cooks through.
Tips for Golden Perfection:
- Egg Wash: For a glossy, deep golden finish, brush the top crust with an egg wash (beaten egg with a splash of water or milk) before baking.
- Sugar Sprinkle: A sprinkle of coarse sugar on top of an egg-washed crust adds sparkle and extra crunch.
- Foil Shielding: If the edges of your crust are browning too quickly, loosely cover them with strips of aluminum foil.
- Oven Temperature Accuracy: An oven thermometer is a valuable tool to ensure your oven is heating to the correct temperature.
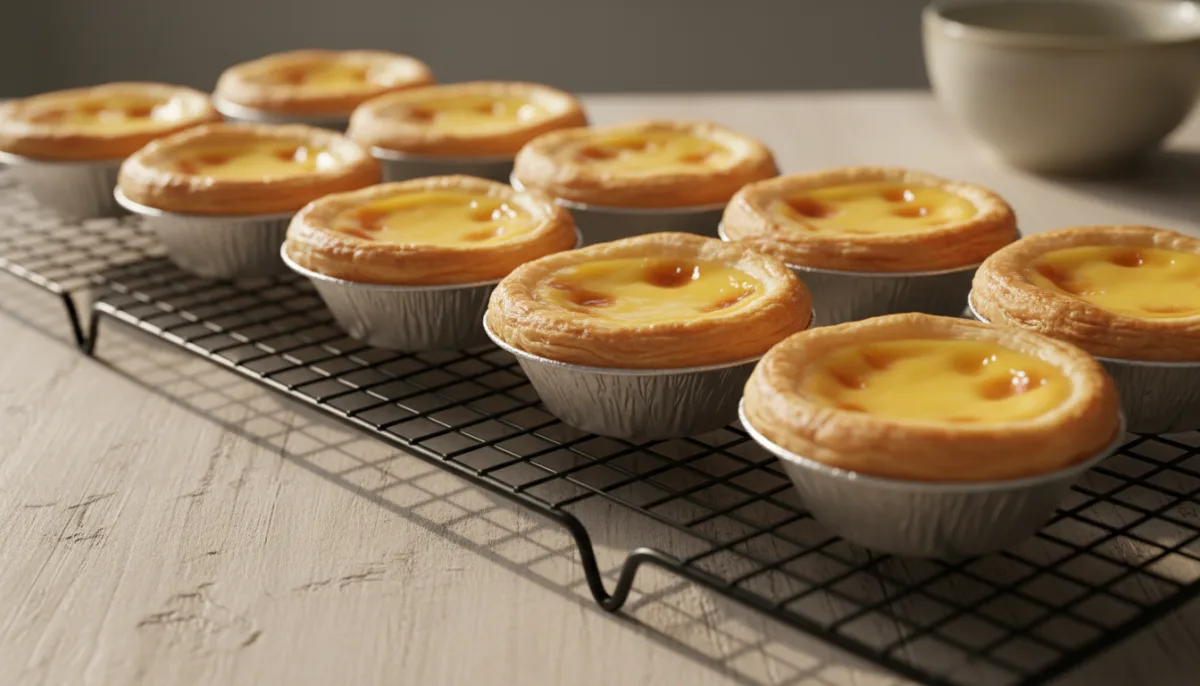
- Don't Underbake: A pale crust often means it's underbaked and will be doughy. Bake until truly golden brown.
Troubleshooting Common Crust Issues
- Soggy Bottom: Often caused by insufficient blind baking, a wet filling, or not baking long enough. Ensure your crust is fully baked and dry before adding wet fillings.
- Tough Crust: Overworking the dough develops too much gluten. Handle the dough as little as possible. Too much water can also contribute to toughness.
- Shrinking Crust: Stretching the dough when placing it in the pan, or not chilling it sufficiently before baking, can lead to shrinkage.
- Crumbly Dough: Not enough water, or fat pieces that are too large and not adequately incorporated, can make the dough difficult to work with.
Conclusion: Practice Makes Perfect
Mastering the perfect pie and tart crust is a journey of understanding ingredients, techniques, and a bit of patience. Each element, from the temperature of your fat to the gentleness of your touch, contributes to the final masterpiece. With these principles in mind and a willingness to experiment, you'll soon be creating golden-brown, flaky crusts that are as delightful to behold as they are to eat.
Frequently Asked Questions
Q: Can I make pie dough ahead of time?
A: Absolutely! Pie dough can be made 2-3 days in advance and stored tightly wrapped in the refrigerator. It can also be frozen for up to 2-3 months. Thaw frozen dough in the refrigerator overnight before rolling.
Q: What's the best way to prevent my pie crust from sticking to the counter when rolling?
A: Lightly flour your work surface and rolling pin. Rotate the dough frequently as you roll, and lift it occasionally to ensure it's not sticking. If it starts to stick, add a tiny bit more flour underneath.
Q: My crust always cracks when I roll it out. What am I doing wrong?
A: This often happens if the dough is too cold or hasn't rested long enough. Let the dough sit at room temperature for 5-10 minutes before rolling to allow it to soften slightly. If it still cracks, you can gently patch it with your fingers or a small piece of extra dough.