
Introduction: Mastering the Humble Hard-Boiled Egg The hard-boiled egg, a seemingly simple culinary staple, often presents unexpected challenges. From rubbery whites to green-rimmed yolks and stubbornly clinging shells, achieving perfection can feel elusive. Yet, a perfectly cooked hard-boiled egg is a versatile marvel: a quick …
Introduction: Mastering the Humble Hard-Boiled Egg
The hard-boiled egg, a seemingly simple culinary staple, often presents unexpected challenges. From rubbery whites to green-rimmed yolks and stubbornly clinging shells, achieving perfection can feel elusive. Yet, a perfectly cooked hard-boiled egg is a versatile marvel: a quick protein boost, a foundational ingredient for countless dishes, and a testament to careful cooking. This guide will demystify the process, offering clear methods, precise timing, and practical tips to ensure creamy yolks and easy peeling every single time.
Understanding the Science of a Great Hard-Boiled Egg
Before diving into methods, let's briefly consider what makes a hard-boiled egg 'perfect.' It's a balance: firm but tender whites, and a yolk that's fully set but still creamy, not dry or crumbly. The dreaded green ring around the yolk is iron sulfide, a harmless but unappealing compound formed when eggs are overcooked, causing the sulfur in the egg white to react with iron in the yolk. Proper cooking time and rapid cooling are key to preventing this.
Methods for Cooking Hard-Boiled Eggs
Stovetop Method: The Classic Approach
This is the most common method and, when done correctly, yields excellent results.
- Preparation: Place eggs in a single layer in a saucepan.
- Cover with Water: Add cold water to cover the eggs by about an inch.
- Bring to a Boil: Place the saucepan over high heat and bring the water to a rolling boil.
- Remove from Heat & Cover: As soon as the water reaches a full boil, immediately remove the pan from the heat. Cover it tightly with a lid.
- Let Stand: Allow the eggs to sit in the hot water for the recommended time (see timing guide below).
- Ice Bath: Promptly transfer the eggs to an ice bath (a bowl of ice water) for at least 5-10 minutes. This stops the cooking process and helps with peeling.
Instant Pot Method: Speed and Consistency
The Instant Pot offers a hands-off approach with consistent results, often making peeling easier.
- Setup: Place the trivet in the bottom of your Instant Pot.
- Add Eggs & Water: Carefully arrange eggs on the trivet. Pour 1 cup of cold water into the pot.
- Cook: Secure the lid and set the vent to sealing. Cook on high pressure for 5 minutes.
- Quick Release & Ice Bath: Once cooking is complete, perform a quick release of the pressure. Immediately transfer the eggs to an ice bath for 5-10 minutes.
Oven Method: For Batch Cooking
While less common, the oven method is excellent for cooking a large batch of eggs simultaneously without a large pot.
- Preheat: Preheat your oven to 325°F (160°C).
- Muffin Tin: Place one egg in each cup of a muffin tin.
- Bake: Bake for 25-30 minutes.
- Ice Bath: Transfer the eggs to an ice bath immediately after baking for 5-10 minutes.
Timing Guide for Perfect Yolks
The standing time (for stovetop) or cooking time (for Instant Pot/Oven) is crucial for yolk consistency. Adjust based on your preference and egg size (large eggs are assumed here).
- 6-7 minutes (Stovetop): Soft-boiled, jammy yolk.
- 8-9 minutes (Stovetop): Firm but still creamy yolk, slightly moist center.
- 10-12 minutes (Stovetop): Fully set, creamy yolk, no green ring. (Recommended for classic hard-boiled)
- 5 minutes (Instant Pot): Fully set, creamy yolk.
- 25-30 minutes (Oven): Fully set, creamy yolk.
Crucial Tips for Easy Peeling
This is often the most frustrating part, but these tips can make a significant difference:
- Use Older Eggs: Fresher eggs tend to stick more. Eggs that are about a week to 10 days old are ideal.
- Ice Bath is Non-Negotiable: Rapid cooling causes the egg white to contract, separating it from the shell membrane. This is perhaps the most important step for easy peeling.
- Crack and Roll: Once cooled, gently tap the egg on a hard surface to crack the shell all over. Then, roll it between your palms to further loosen the shell.
- Peel Under Running Water: Peeling under a gentle stream of cold water can help wash away small shell fragments and ease the membrane's release.
- Start at the Wider End: There's usually an air pocket at the wider end of the egg, making it easier to get under the membrane and start peeling.
Creative Uses for Hard-Boiled Eggs
Beyond a simple snack, hard-boiled eggs are incredibly versatile:
- Deviled Eggs: A classic appetizer, perfect for gatherings.
- Egg Salad: A timeless sandwich filling or cracker topping.
- Curries and Stews: Add whole or halved hard-boiled eggs to enhance richness and protein.
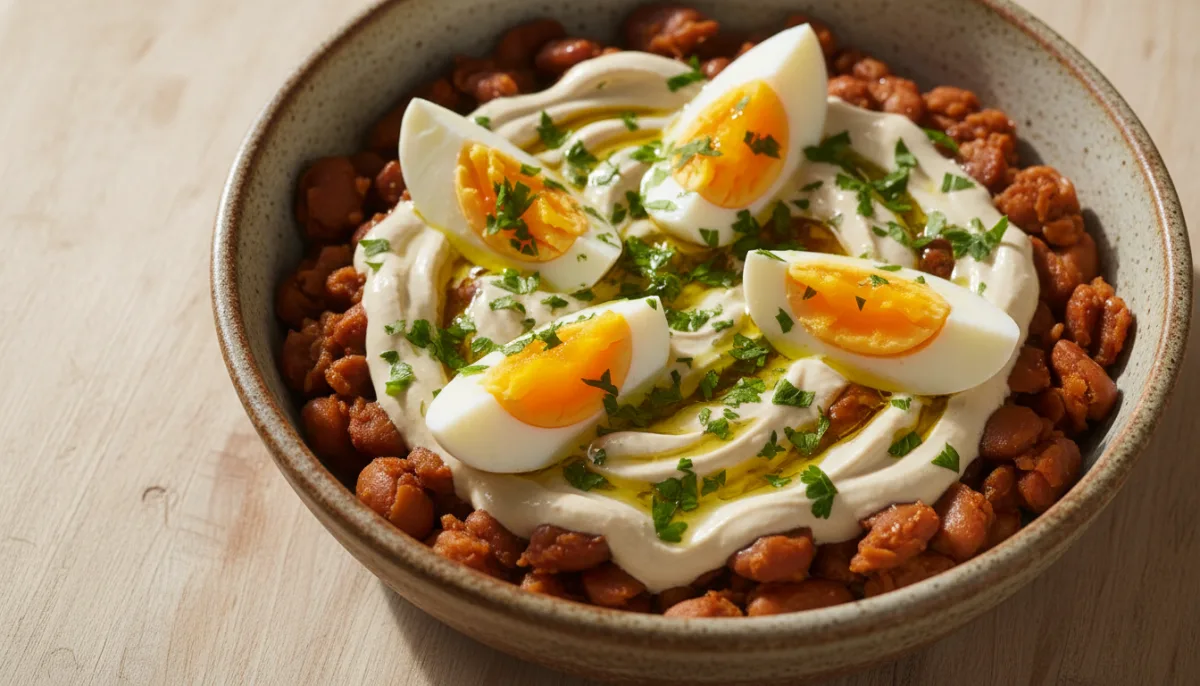
- Grain Bowls: A fantastic protein boost for quinoa, rice, or farro bowls with roasted vegetables.
- Nicoise Salad: An essential component of this vibrant French salad.
- Scotch Eggs: A hearty, flavorful dish where eggs are wrapped in sausage meat and fried.
- Garnish: Chopped or sliced, they add texture and protein to green salads, soups, or even avocado toast.
Frequently Asked Questions
Q: Can I store hard-boiled eggs?
A: Yes, hard-boiled eggs can be stored in the refrigerator for up to one week. It's best to keep them in their shells until you're ready to eat them, as this helps maintain freshness and prevents them from absorbing odors.
Q: Why do my yolks sometimes have a green ring?
A: A green or grayish-green ring around the yolk indicates that the egg has been overcooked. This is a harmless chemical reaction between sulfur in the egg white and iron in the yolk. While safe to eat, it can affect the texture and appearance. Rapid cooling in an ice bath immediately after cooking helps prevent this.
Q: Does adding salt or vinegar to the water help with peeling?
A: While some believe these additions help, scientific evidence is mixed. The most effective methods for easy peeling remain using slightly older eggs and, most importantly, transferring them immediately to an ice bath after cooking.
Conclusion
The journey to the perfect hard-boiled egg doesn't have to be fraught with frustration. By understanding the principles of cooking, choosing the right method for your needs, and applying a few simple peeling tricks, you can consistently achieve eggs with tender whites, creamy yolks, and shells that practically fall away. Embrace this humble ingredient and unlock its full potential in your kitchen!