
Introduction: Unlocking Weeknight Braising Magic Braising often conjures images of slow-cooked Sunday dinners, simmering for hours until meat practically melts off the bone. While traditional braising certainly has its place, the good news is that you don't need an entire afternoon to achieve that same incredible tenderness and …
Introduction: Unlocking Weeknight Braising Magic
Braising often conjures images of slow-cooked Sunday dinners, simmering for hours until meat practically melts off the bone. While traditional braising certainly has its place, the good news is that you don't need an entire afternoon to achieve that same incredible tenderness and depth of flavor. With a few smart techniques, you can master the 'quick braise' – turning tougher, more economical cuts of meat or robust vegetables into delicious, fall-apart meals in under two hours. This approach is a game-changer for busy weeknights, offering gourmet results without the gourmet time commitment.
The secret lies in understanding how braising works: a combination of moist heat and gentle, prolonged cooking. For a quicker version, we'll focus on maximizing heat transfer, choosing the right ingredients, and building flavor efficiently. Let's dive into how you can bring this culinary magic to your kitchen.
Understanding the Quick Braise: Principles for Speed and Flavor
A quick braise isn't about cutting corners on flavor; it's about optimizing the process. Here are the core principles:
1. Ingredient Selection: The Right Cuts and Veggies
- Meat: Look for cuts that benefit from braising but are often sold in smaller, thinner pieces or can be easily cut down. Examples include boneless, skinless chicken thighs, pork shoulder (cut into 1-2 inch cubes), beef chuck (cut similarly), or even lamb shoulder. The key is surface area for browning and manageable size for quicker cooking.
- Vegetables: Hearty, dense vegetables like carrots, celery, onions, potatoes, parsnips, and even cabbage wedges stand up well to braising. They absorb flavors beautifully and become wonderfully tender.
2. Efficient Browning: Building the Flavor Foundation
Browning is non-negotiable. It creates the Maillard reaction, developing deep, savory flavors that form the backbone of your braise. For a quick braise:
- High Heat, Small Batches: Don't overcrowd your pan. Brown meat in batches over medium-high heat until well-caramelized on all sides. This might take 5-7 minutes per batch.
- Scraping the Fond: After browning, deglaze the pan with a splash of liquid (wine, broth, or even water) to scrape up all those flavorful browned bits (the 'fond'). This adds immense depth to your sauce.
3. Strategic Liquid and Aromatics
The braising liquid is where the magic happens, tenderizing the ingredients and becoming a rich sauce. For a quick braise:
- Less is More: You don't need to completely submerge your ingredients. Aim for the liquid to come about one-third to halfway up the sides of your meat or vegetables. This allows the top to steam while the bottom simmers, creating a more concentrated flavor.
- Flavorful Liquids: Use good quality broth (chicken, beef, or vegetable), canned tomatoes, wine, or even beer. A touch of acidity (vinegar, lemon juice, or tomatoes) can also help tenderize.
- Aromatics: Don't skimp on garlic, onions, herbs (thyme, rosemary, bay leaves), and spices. Sauté them briefly after browning the meat to release their fragrance before adding liquid.
4. The Right Vessel and Heat Management
A heavy-bottomed pot with a tight-fitting lid is essential. Dutch ovens are ideal, but any sturdy pot will work. For quick braising:
- Stovetop Start, Oven Finish (or Stovetop All the Way): While traditional braises often finish in the oven, a quick braise can often be done entirely on the stovetop. Ensure the heat is low enough for a gentle simmer, not a rolling boil, to prevent drying out and ensure even cooking.
- Maintain a Gentle Simmer: Once the liquid is added and brought to a simmer, reduce the heat to low. The liquid should barely bubble. This gentle heat is what breaks down tough connective tissues without toughening the meat.
Step-by-Step Quick Braising Method
Let's put these principles into practice with a general guide:
- Prep Ingredients: Cut meat into 1-2 inch pieces. Chop hearty vegetables into similar-sized chunks. Pat meat dry thoroughly.
- Brown the Meat: Heat a heavy-bottomed pot or Dutch oven over medium-high heat with a tablespoon of oil. Brown meat in batches until deeply colored on all sides. Remove and set aside.
- Sauté Aromatics: Reduce heat to medium. Add chopped onions, carrots, and celery (mirepoix) to the pot. Sauté until softened, scraping up any browned bits from the bottom of the pot. Add garlic and cook for another minute until fragrant.
- Deglaze and Build Flavor: Pour in a splash of wine or broth and scrape the bottom of the pot to release all the flavorful fond. Add your main braising liquid (broth, crushed tomatoes, etc.), herbs, and spices. Bring to a simmer.
- Combine and Simmer: Return the browned meat to the pot. Ensure the liquid comes about one-third to halfway up the sides of the meat. Bring to a gentle simmer, then cover tightly with a lid.
- Cook Until Tender: Reduce heat to low and simmer gently on the stovetop for 60-90 minutes, or until the meat is fork-tender. Check occasionally to ensure the liquid isn't evaporating too quickly; add a splash more if needed. For vegetables, they might take 30-60 minutes depending on density.
- Finish the Sauce: Once tender, remove the meat/vegetables. If the sauce is too thin, increase the heat and reduce it to your desired consistency. You can also thicken it with a cornstarch slurry (1 tbsp cornstarch mixed with 2 tbsp cold water) stirred in at the end. Adjust seasonings.
- Serve: Return meat/vegetables to the sauce and serve hot with your favorite sides like mashed potatoes, rice, or crusty bread.
Quick Braise Recipe Ideas for Weeknights
- Chicken Thighs with Tomatoes and Olives: Brown chicken thighs, then braise with canned crushed tomatoes, garlic, oregano, and Kalamata olives. Ready in about 45-60 minutes.
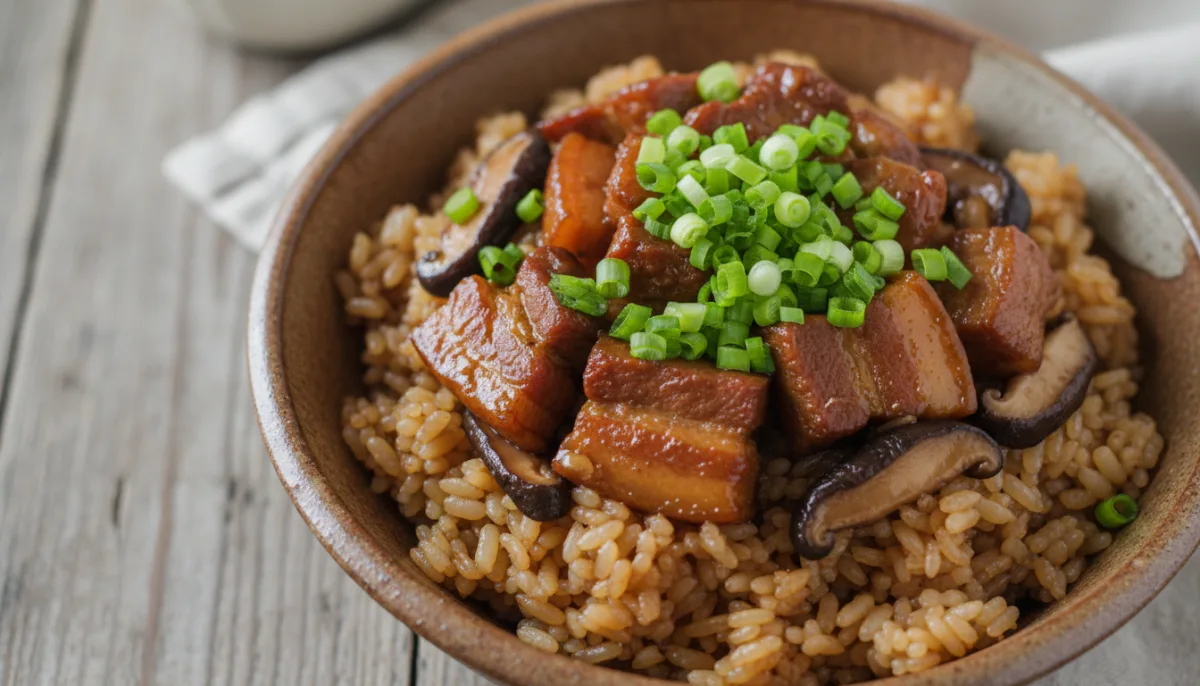
- Pork Shoulder Cubes with Apples and Cider: Brown pork cubes, then braise with sautéed onions, apple chunks, fresh thyme, and apple cider. Deliciously comforting in about 75-90 minutes.
- Beef Chuck with Mushrooms and Red Wine: Brown beef cubes, then braise with sliced mushrooms, pearl onions, beef broth, and a good splash of red wine. A richer option ready in about 90-120 minutes.
- Hearty Vegetable Braise: Sauté onions, carrots, celery, and parsnips. Add vegetable broth, diced tomatoes, bay leaf, and a can of cannellini beans. Braise until vegetables are tender, about 45-60 minutes.
FAQs About Quick Braising
Q: Can I use a pressure cooker for quick braising?
A: Absolutely! A pressure cooker is an excellent tool for significantly reducing braising time. The principles of browning and building flavor remain the same, but the cooking time under pressure will be much shorter – often 30-45 minutes for cuts that would take 90+ minutes on the stovetop. Just be sure to follow your pressure cooker's instructions for liquid amounts.
Q: My braised meat isn't tender. What went wrong?
A: The most common reason for tough braised meat is insufficient cooking time or not maintaining a low, gentle simmer. Braising relies on breaking down connective tissue slowly. If the heat is too high, the meat can seize up. If it's not cooked long enough, it won't become tender. Simply continue cooking at a low simmer until it reaches the desired tenderness.
Q: How can I make my braising sauce thicker?
A: There are a few ways: 1) Reduction: After removing the cooked meat/vegetables, increase the heat and simmer the sauce uncovered until it thickens to your liking. 2) Cornstarch Slurry: Mix 1 tablespoon of cornstarch with 2 tablespoons of cold water until smooth, then whisk it into the simmering sauce. Cook for 1-2 minutes until thickened. 3) Flour Roux: Before adding liquid, you can sprinkle a tablespoon or two of flour over your sautéed aromatics and cook for a minute before adding liquid. This will create a thicker sauce from the start.
Conclusion: Weeknight Wonders Await
The quick braise is a testament to how smart cooking techniques can transform humble ingredients into extraordinary meals. By focusing on efficient browning, strategic liquid use, and proper heat management, you can achieve that coveted fall-apart tenderness and rich, concentrated flavor in a fraction of the traditional time. So, next time you're looking for a comforting, deeply satisfying meal on a weeknight, remember the art of the quick braise. Your taste buds (and your schedule) will thank you.