

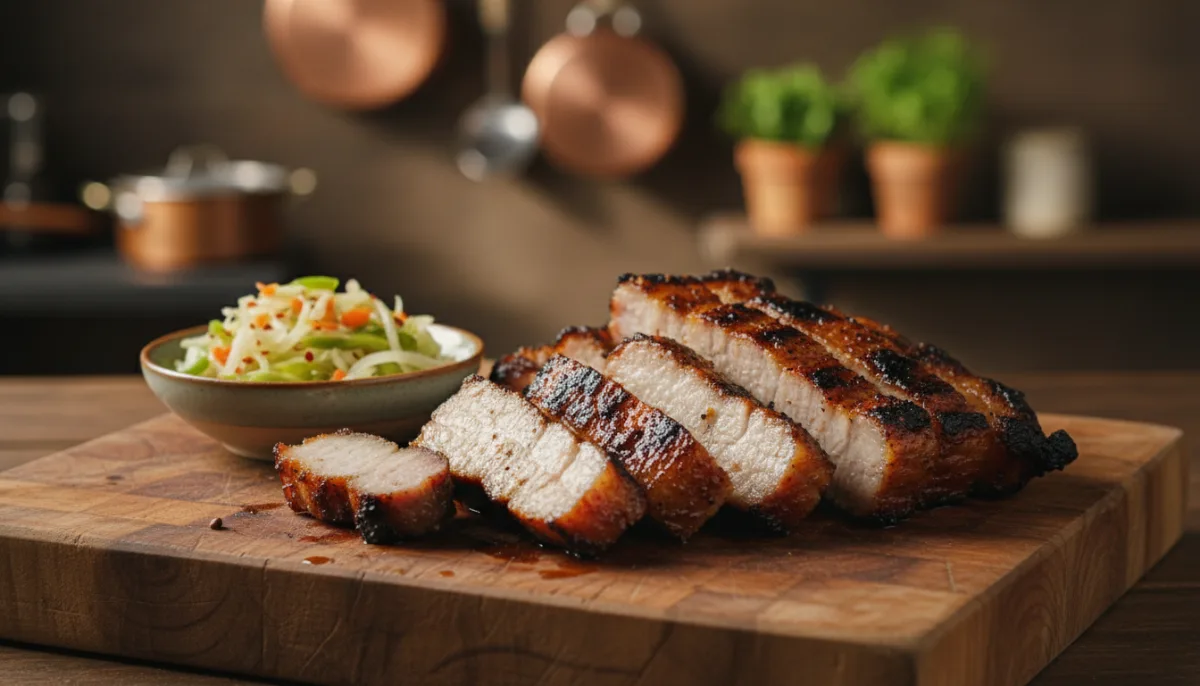
Embracing Indoor Grilling: Flavor Without the Fire Pit The aroma of sizzling food on a grill is synonymous with summer, good company, and delicious meals. But what happens when the weather turns, you live in an apartment without a balcony, or you simply don't have access to an outdoor grill? The good news is that you don't have …
Embracing Indoor Grilling: Flavor Without the Fire Pit
The aroma of sizzling food on a grill is synonymous with summer, good company, and delicious meals. But what happens when the weather turns, you live in an apartment without a balcony, or you simply don't have access to an outdoor grill? The good news is that you don't have to sacrifice those beloved grilled flavors. With a little know-how and the right indoor equipment – namely, your broiler and a trusty grill pan – you can achieve remarkably similar results, bringing the essence of summer BBQ into your kitchen any time of year.
Indoor grilling isn't just a compromise; it's a versatile cooking method that offers control, convenience, and consistent results. While it might not replicate the exact char and smoke of an open flame, it can certainly deliver beautifully seared surfaces, tender interiors, and that distinct 'grilled' taste we all crave. Let's explore how to master these indoor tools and unlock a world of year-round grilling possibilities.
The Broiler: Your Indoor Inferno
Think of your oven's broiler as an upside-down grill. Instead of heat coming from below, it radiates intensely from above, perfect for quickly searing the top surface of foods. This high, direct heat is excellent for developing a crust, caramelizing sugars, and cooking thinner cuts of meat and vegetables rapidly.
Tips for Broiler Success:
- Preheat Thoroughly: Just like an outdoor grill, your broiler needs to be piping hot. Turn it on for at least 5-10 minutes before placing food underneath.
- Positioning is Key: The closer the food is to the heating element, the faster and more intense the searing. For most items, 4-6 inches is a good starting point. Thinner items might go closer, thicker items a bit further away to allow for more even cooking.
- Use the Right Pan: A heavy-duty baking sheet or broiler pan is essential. Line it with foil for easier cleanup, but ensure the foil doesn't touch the heating element.
- Watch Like a Hawk: Broiling is fast! Food can go from perfectly seared to burnt in seconds. Stay near the oven and check frequently.
- Turn for Evenness: Unless you're aiming for a one-sided sear, flip your food halfway through cooking to ensure both sides get that desirable browning.
- Ventilation: Broiling can produce some smoke, especially with marinades or fatty foods. Ensure good kitchen ventilation.
Broiler-Friendly Foods:
- Thin steaks (skirt, flank, sirloin)
- Chicken breasts or thighs (boneless, skinless)
- Fish fillets (salmon, cod, mahi-mahi)
- Shrimp and scallops
- Vegetables (bell peppers, zucchini, asparagus, tomatoes)
- Fruit (pineapple, peaches)
The Grill Pan: Achieving Those Coveted Grill Marks
A cast-iron or heavy-bottomed grill pan is your secret weapon for replicating those iconic grill marks and achieving a beautiful sear. The raised ridges lift the food slightly, allowing direct contact with the hot metal while also letting fats and juices drain away, preventing steaming.
Mastering Your Grill Pan:
- Get it Smoking Hot: This is crucial for good grill marks and a proper sear. Place the pan over medium-high to high heat and let it preheat for 5-10 minutes until it's visibly smoking slightly.
- Lightly Oil the Food, Not the Pan: Brushing a thin layer of high-smoke-point oil (like canola, grapeseed, or avocado oil) directly onto your food helps prevent sticking and promotes browning without pooling oil in the pan's grooves.
- Don't Crowd the Pan: Overcrowding lowers the pan's temperature and leads to steaming instead of searing. Cook in batches if necessary.
- Resist the Urge to Move: Once food is placed on the hot pan, leave it undisturbed for several minutes to allow those grill marks to develop. Moving it too soon will prevent a good sear.
- Rotate for Crosshatch Marks: For a classic crosshatch pattern, place the food on the pan, cook for 2-3 minutes, then rotate it 90 degrees and cook for another 2-3 minutes before flipping.
- Clean Between Batches: If residue builds up, quickly wipe the pan clean with a paper towel (carefully, it's hot!) between batches to prevent burning.
Ideal Grill Pan Candidates:
- Burgers and sausages
- Chicken pieces (especially boneless)
- Steaks (ribeye, New York strip, tenderloin)
- Pork chops
- Thick-cut vegetables (eggplant, portobello mushrooms, onions)
- Halloumi cheese
Flavor Boosters for Indoor Grilling
While indoor methods might lack the natural smoke of charcoal or wood, you can still infuse your food with incredible BBQ-inspired flavors:
- Marinades: Acidic marinades (with vinegar, citrus juice) tenderize and add flavor. Oil-based marinades help with browning.
- Rubs: Dry rubs create a flavorful crust. Apply generously and let sit for at least 30 minutes, or overnight for deeper flavor.
- Smoked Paprika: A pantry staple that adds a wonderful smoky depth to rubs and marinades.
- Liquid Smoke (Use Sparingly): A few drops can impart a subtle smoky flavor, but too much can be overpowering.
- BBQ Sauces: Brush on during the last few minutes of cooking (especially with the broiler) to caramelize and create a sticky glaze.
Putting It All Together: A Simple Indoor BBQ Recipe Idea
Broiled & Grill-Pan Chicken Skewers with Bell Peppers
This recipe combines both techniques for maximum flavor and texture.
Ingredients:
- 1.5 lbs boneless, skinless chicken thighs or breasts, cut into 1-inch cubes
- 2 bell peppers (any color), cut into 1-inch pieces
- 1 red onion, cut into 1-inch pieces
- 1/4 cup olive oil
- 2 tbsp apple cider vinegar
- 1 tbsp smoked paprika
- 1 tsp garlic powder
- 1/2 tsp onion powder
- Salt and black pepper to taste
- Wooden or metal skewers (if using wooden, soak in water for 30 minutes)
Instructions:
- In a large bowl, combine chicken, bell peppers, and red onion.
- Add olive oil, apple cider vinegar, smoked paprika, garlic powder, onion powder, salt, and pepper. Toss to coat everything evenly. Marinate for at least 30 minutes, or up to 4 hours in the refrigerator.
- Preheat your grill pan over medium-high heat until smoking.
- Thread the marinated chicken and vegetables onto skewers, alternating ingredients. Don't pack them too tightly.
- Place skewers on the hot grill pan, cooking in batches if necessary. Cook for 3-4 minutes per side, rotating to get grill marks on all sides of the chicken and vegetables.
- While the skewers are grilling, preheat your oven broiler to high.
- Once the skewers have good grill marks, transfer them to a broiler-safe baking sheet.
- Place the baking sheet under the broiler, about 6 inches from the heating element. Broil for 3-5 minutes, flipping once, until the chicken is cooked through (internal temperature of 165°F / 74°C) and the vegetables are tender-crisp with some char.
- Serve immediately with your favorite BBQ sauce for dipping, if desired.
Frequently Asked Questions About Indoor Grilling
Q: How do I prevent my kitchen from getting too smoky?
A: Good ventilation is key. Always turn on your range hood to its highest setting. If possible, open a window nearby. Using high-smoke-point oils and not overcrowding your pan will also help minimize smoke.
Q: Can I use a regular frying pan instead of a grill pan?
A: While you can cook many items in a regular frying pan, you won't achieve the distinct grill marks or the slight elevation that allows fats to drain, which are hallmarks of grill pan cooking. A heavy-bottomed cast iron skillet can provide a good sear, but without the ridges.
Q: What's the best way to clean a grill pan?
A: For cast iron, let it cool slightly, then scrub with hot water and a stiff brush or scraper. Avoid soap if it's seasoned, as it can strip the seasoning. For non-stick grill pans, use warm soapy water and a soft sponge. Ensure all grooves are clean to prevent residue buildup.
With these techniques and a little practice, you'll be enjoying delicious, grilled meals year-round, no matter what the weather outside is doing. Happy indoor grilling!